| T O P I C R E V I E W |
| Stevie-eff |
Posted - 11/07/2011 : 16:28:54
Decided to have a bit of a refurb in my viv following the how to guide on this forum. Here are the results:
Viv as it was:
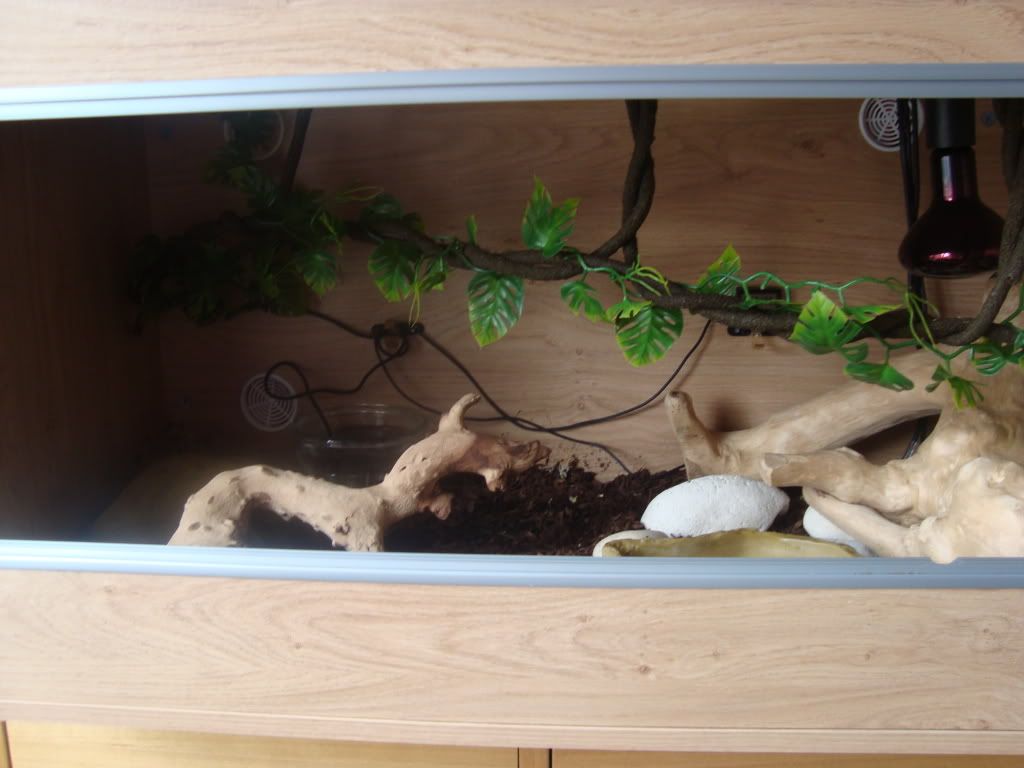
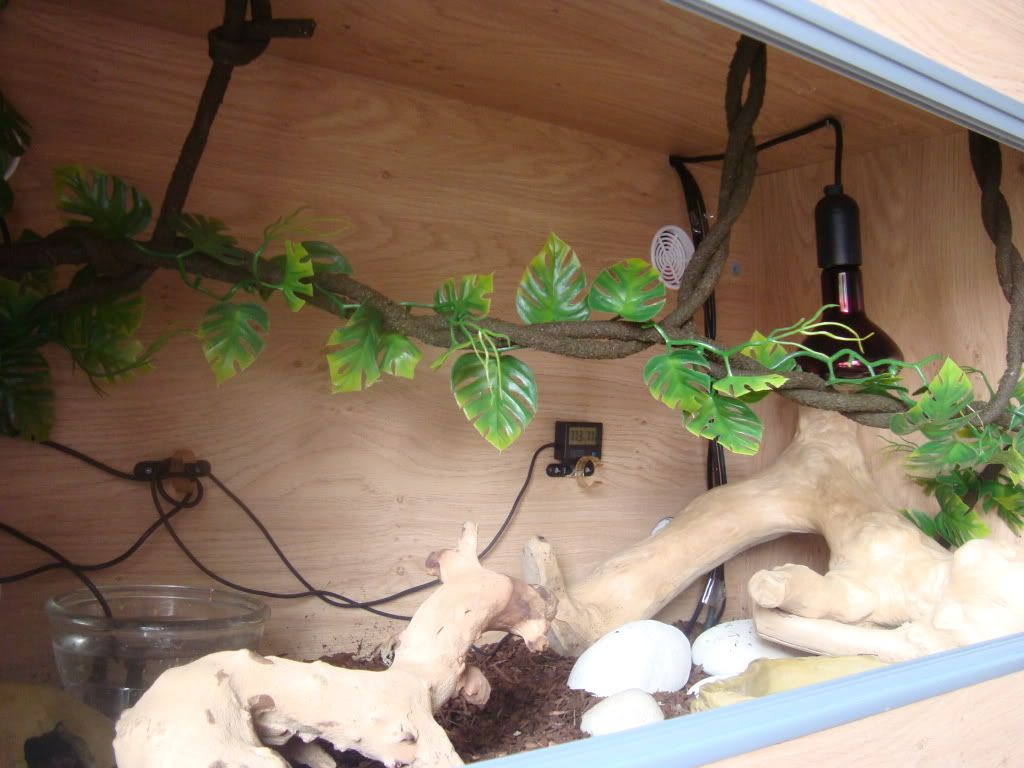
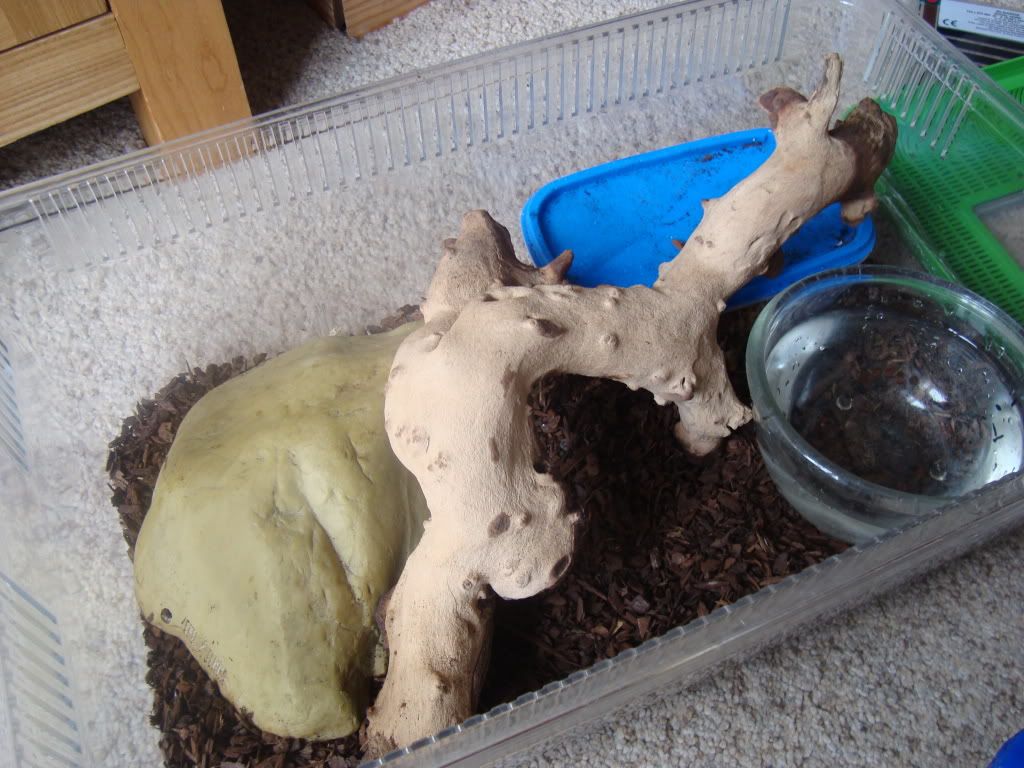
Temp viv:
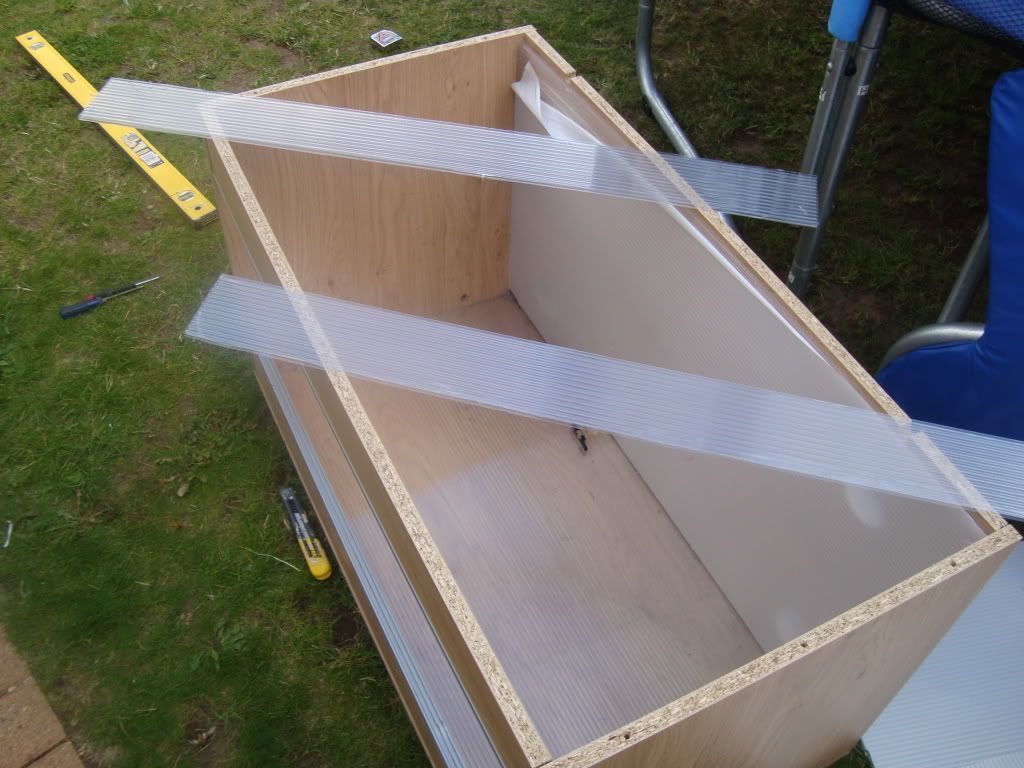
Pieces of polycabonate being cut to size (loads of shouting and swearing whilst doing it!):
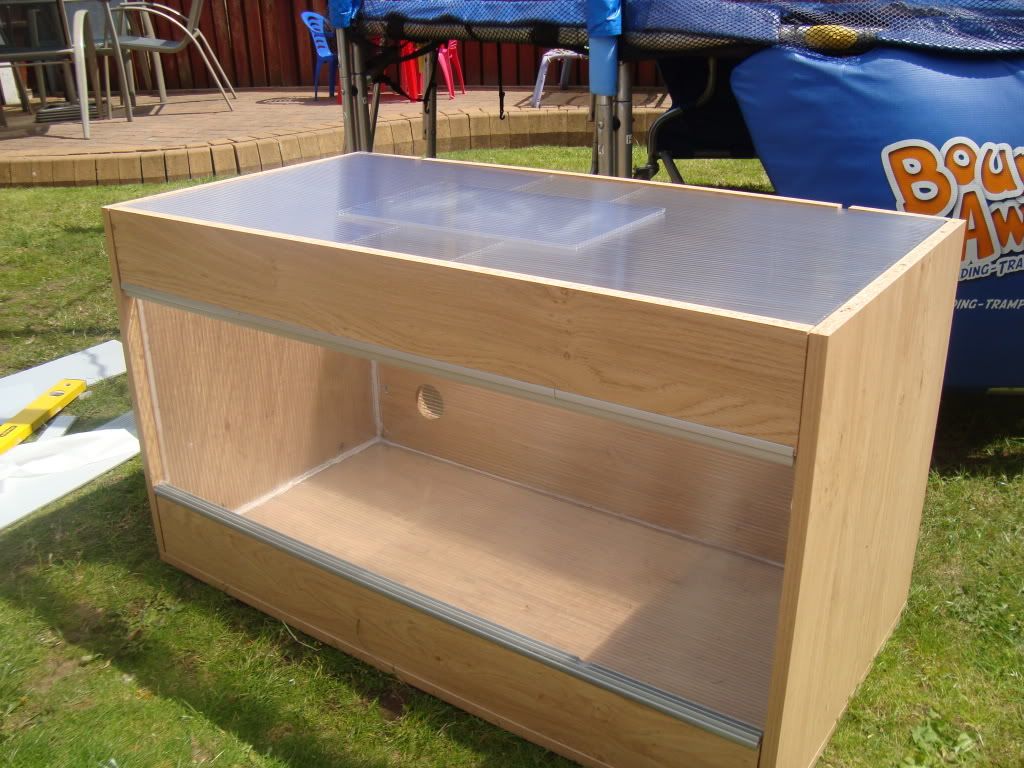
All in place:

A gallon of aquarium sealant later and roof in place:
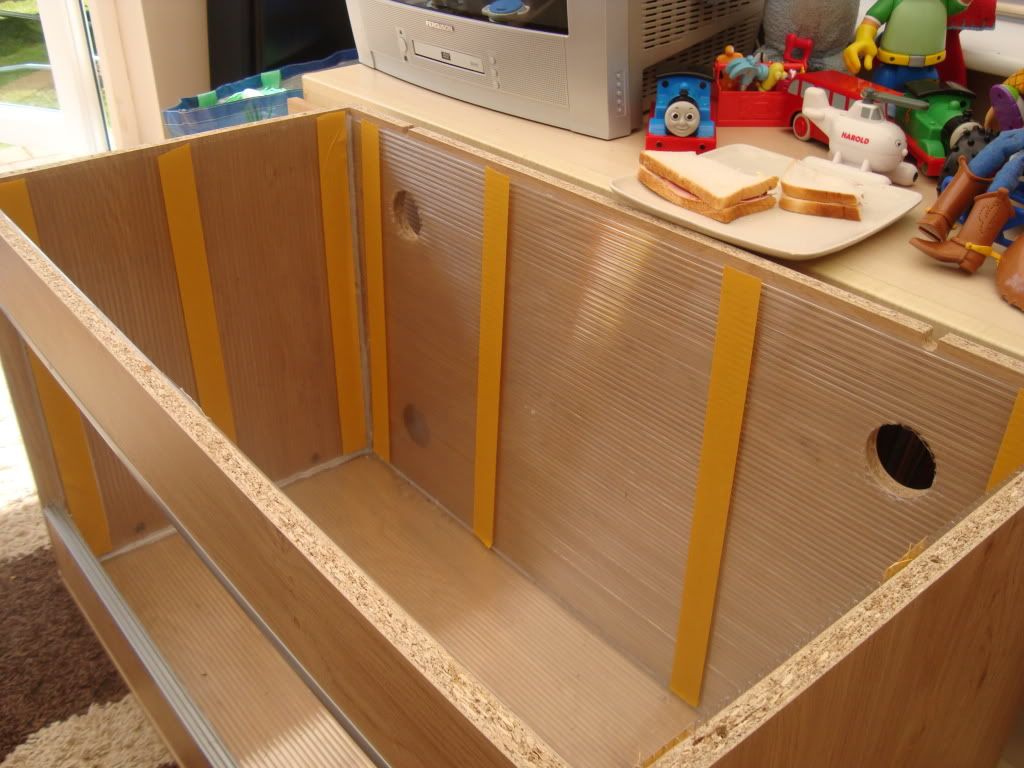
Just like on blue peter when i was a kid, double sided sticky tape!!
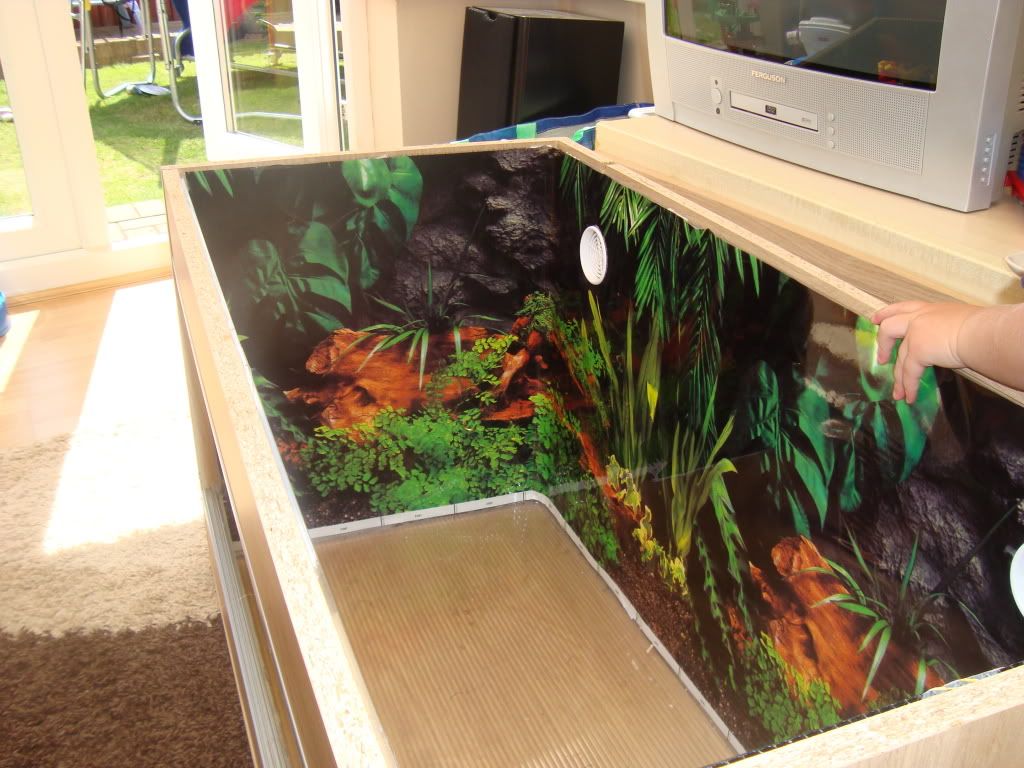
The worlds most expensive background in place. (i nearly died when i was told the price!) And a helping hand (not!) from one of the young un's.
Heat mat and thermostats in place:
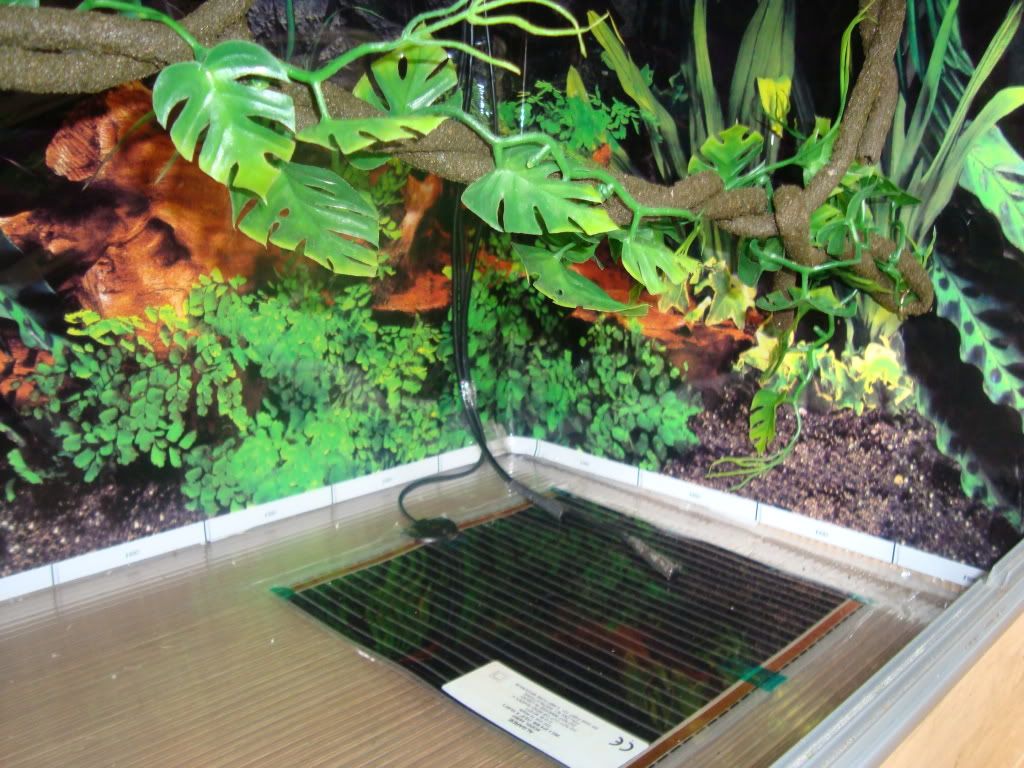
Decor in place:
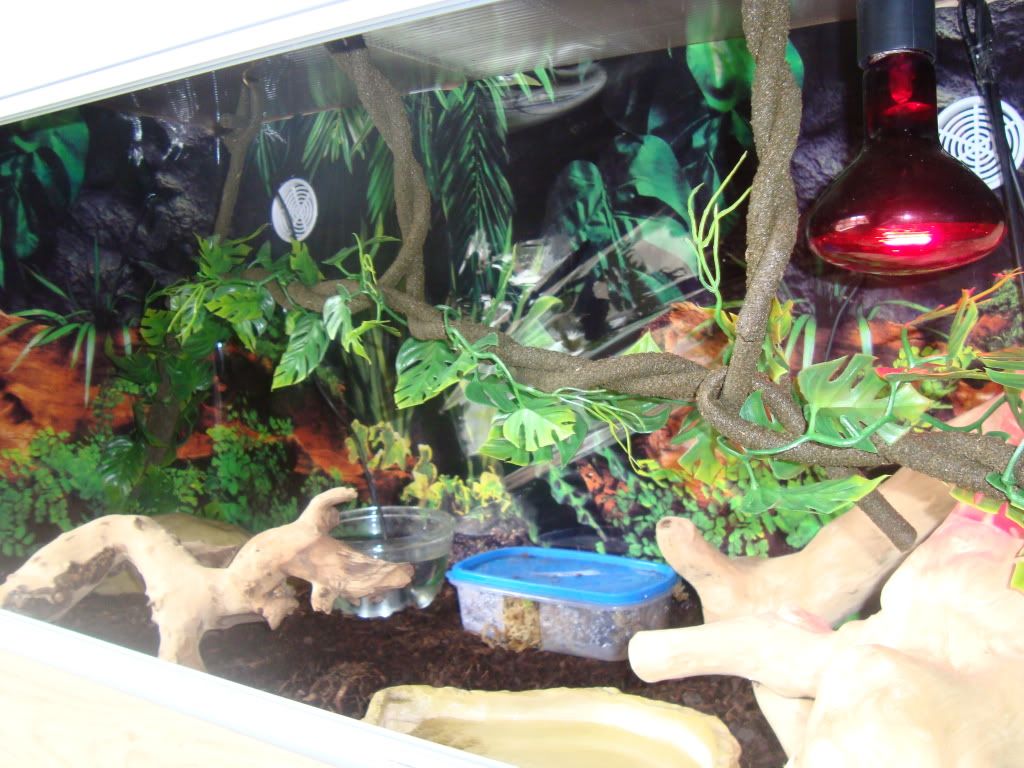
One tropical rainforest viv, just need some more plants now:
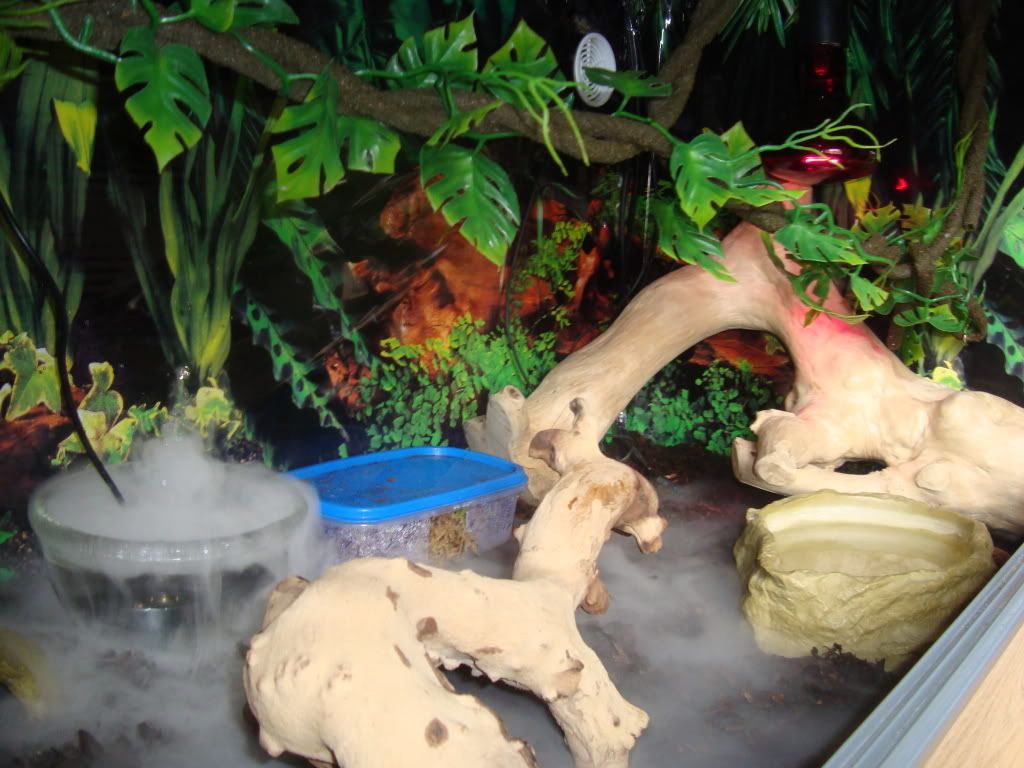
Temps easy to maintain and humidity in the high 80's constantly with very little effort. Wood has got to go though as its a little too moist for it.
|
| 9 L A T E S T R E P L I E S (Newest First) |
| Markni |
Posted - 16/08/2011 : 20:21:35
Example of a person being extremely stupid.....
The fumes were not coming from the viv, rather the silicone gun, which apparently has been slowly building a small mountain of silicone on the floor of my spare room over the last few days because I was stupid enough to leave it without capping the top! Oh dear...
Took the viv into another room, and left for a while, no trace of smell at all...
Pics coming up now... Although will not be putting snake in for another day or two, just to be double safe, and till the temps settle. |
| Snakesitter |
Posted - 16/08/2011 : 19:05:47
Congrats, Markni! Don't rush it though, better safe than sorry. Looking forward to the picts! |
| Markni |
Posted - 16/08/2011 : 18:26:04
Finished! Well, sort of... how long does it take this aquarium sealant to dry??!! Sealed it up on sat, and it still smells a bit vinigary!
I want to get all the stuff in, so I can get the temps stable & put my little BRB into her new viv!!
I will post a copycat thread to this with my build pics when its all decorated, just playing the waiting game with this silicone now!! |
| Stevie-eff |
Posted - 12/08/2011 : 20:44:56
Hi,
sorry for delay in getting back to you, not been on for a while.
I got my bits from markham grange garden centre, doncaster.
I recommend going to a proper garden centre rather than a big DIY place, mine is just standard green house repair stuff.
Back ground is also from Markham Grange, cost a fortune (as a lot of stuff there does!!) but it is quality stuff (like most of there stuff is)
Hope all goes well, make sure you post photos and get in touch if you want any advice.
Steve |
| Markni |
Posted - 08/08/2011 : 21:44:50
Awesome looking viv,
You & 'Welly' have inspired me... I have just purchased a vx36, with full intentions of doing a mod very similar to this for my BRB.
I am having some trouble finding the polycarb sheets! The only place I found them is B&Q, and they are 1cm thick, yours look thinner than that! Also, where did you get the background? Im thinking of adding a perch too (just using plumbing pipe), cuz my girl seems to love to climb, and it will be a good starting point for vines etc. |
| Snakesitter |
Posted - 12/07/2011 : 00:11:54
That's the important part! |
| Stevie-eff |
Posted - 11/07/2011 : 21:50:29
In front Cliff but you can see the lines pf the polycab coz its stretched over it.
I'm really happy with it. |
| Snakesitter |
Posted - 11/07/2011 : 19:49:36
Looks really good, Stevie! One question: was the background behind or in front of the polycabonate? |
| Welly |
Posted - 11/07/2011 : 17:14:59
Ace, looks good. You did it exactly the same way i did mine. Works a treat |

